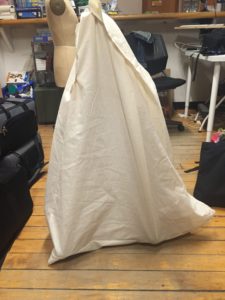
Wearables: Pattern Making and Mock Up
After making small paper and mylar mockups, I started a couple weeks back on designing a full size prototype. I’ve never created a pattern before and while Teresa walked me through the basics, I had to improvise a bit because my garment stands away from the body.
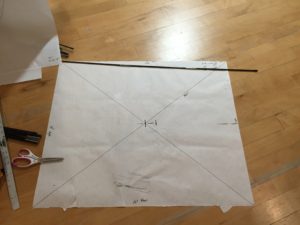
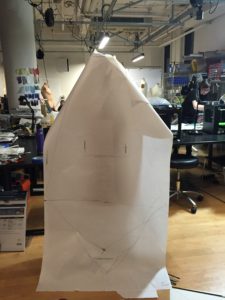
Having a basic idea of the shape, I took four large pieces of paper and pinned them to the mannequin form and drew out the shapes based on the mockup. Knowing that I needed the four triangles at the bottom to meet as the floor, I took another piece of paper, sat on it, and tried to get an idea of what a good size would be.
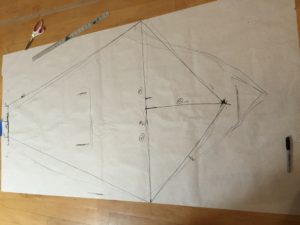
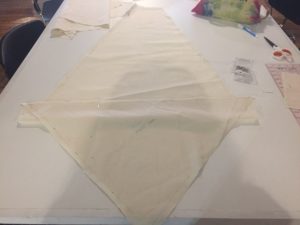
I broke up the paper into the four triangles and used that to get some more specific measurements for the bottom shapes. Then I held a tape measurer and estimated a good height. I drew out shapes according to those measurements, and cut out my pattern pieces. I placed them back on the mannequin to make sure that everything lined up still.
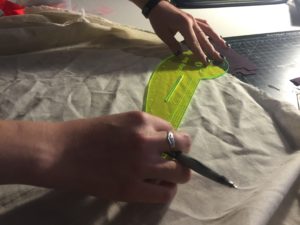
I then used the patterns to create a muslin mock-up. Given that this is my first time making a garment from scratch, I only realized part way through tracing the shapes that I need to leave room for a seam and where exactly those seams should go. So I cut off the triangles from each side and went back over the patterns to indicate the addition of half an inch to all sides.
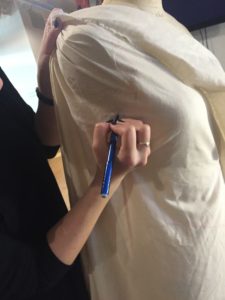
After I cut out all of my pieces I drew out the seam lines on each side of each piece. This technique, while time consuming, made my sewing go much more smoothly.
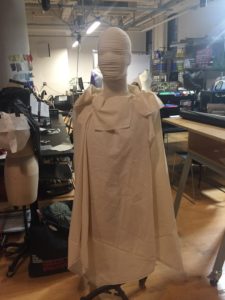
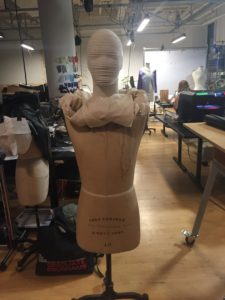
I sewed each side with its triangle, then three of the four pieces together keeping one side open so I could insert structuring materials. Overall, I’m pleased with the mock up. I didn’t sew all the way to the top – I’m trying to figure out a good distance to keep for a neck opening. Also, the flaps will act as a way of wrapping the extra fabric when it’s no longer in tent mode.
