PComp, Wk 7: Midterm
This post is essentially a reconstruction of the notes that I took throughout the development process of our midterm, with some documentation photos/videos thrown in.
Our initial idea was to design an experience that used tactile materials, thinking about how pleasing it can be to run your hand through sand, for example. After looking through a couple of projects that used sand, we found one that used a speaker to shift sand around a plate.
So rather than have a human shift a material around to create an output, we thought of the human giving some kind of input that would cause an effect on the sand. Ruta and I agreed that sound was an interesting medium, as neither of us had worked with it before. We recalled the tone output lab and wondered how different frequencies/tones would act upon sand. This was also an important lesson for me, since I didn’t realize up until this point that frequency and tone were the same thing. Or that, each tone has it’s own unique frequency. COOl. First lesson of the project. So we wondered, could we get the sand to behave in different ways based on the frequencies/tones we played?
In our first iteration, we built a four note keyboard that plays different frequencies of the note C going from low to high.
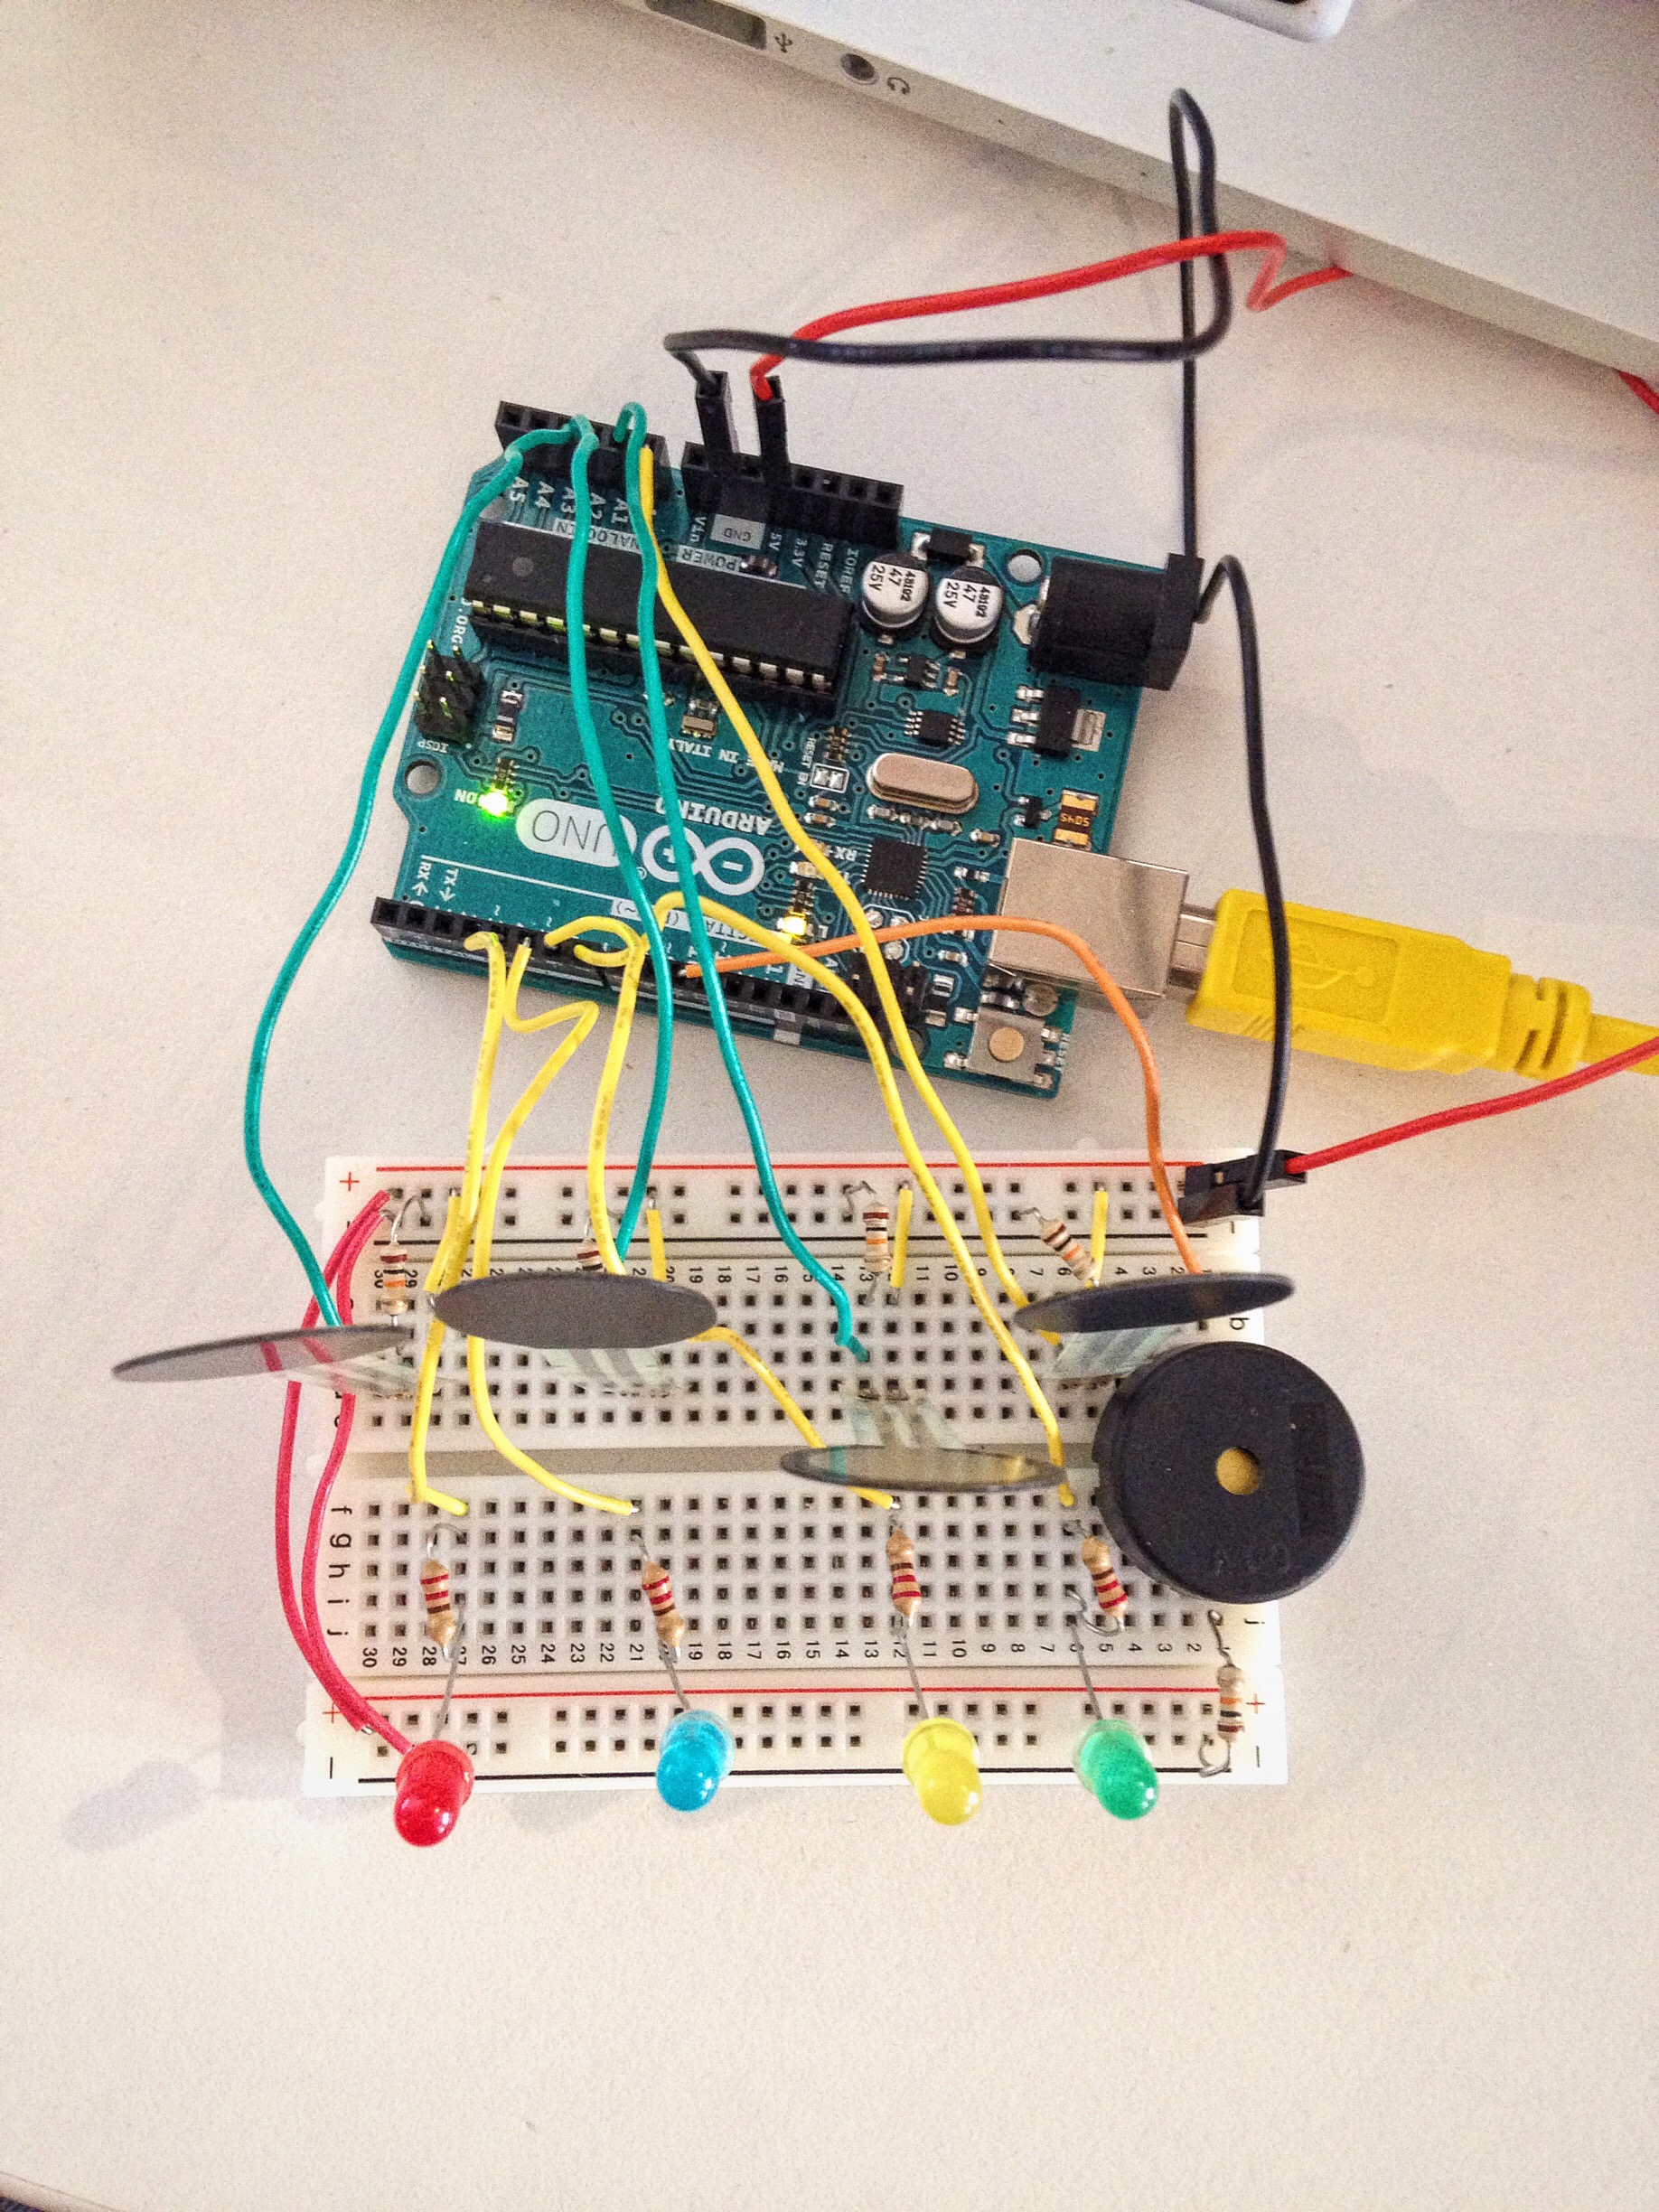
Ruta’s photo of the breadboard
We then hooked up four LEDs corresponding to the four FSRs. We thought the LEDs would act as additional feedback to the user, so they would know when they had initiated a new frequency. We also played with having a different range of tones from low to high. Initially, we had some difficulty getting the LEDs to correspond with the correct notes – they would stay on even if their corresponding FSRs was no longer being held. We realized we had brightness as local variable and wondered if changing it to a global variable would do the trick, and it did.
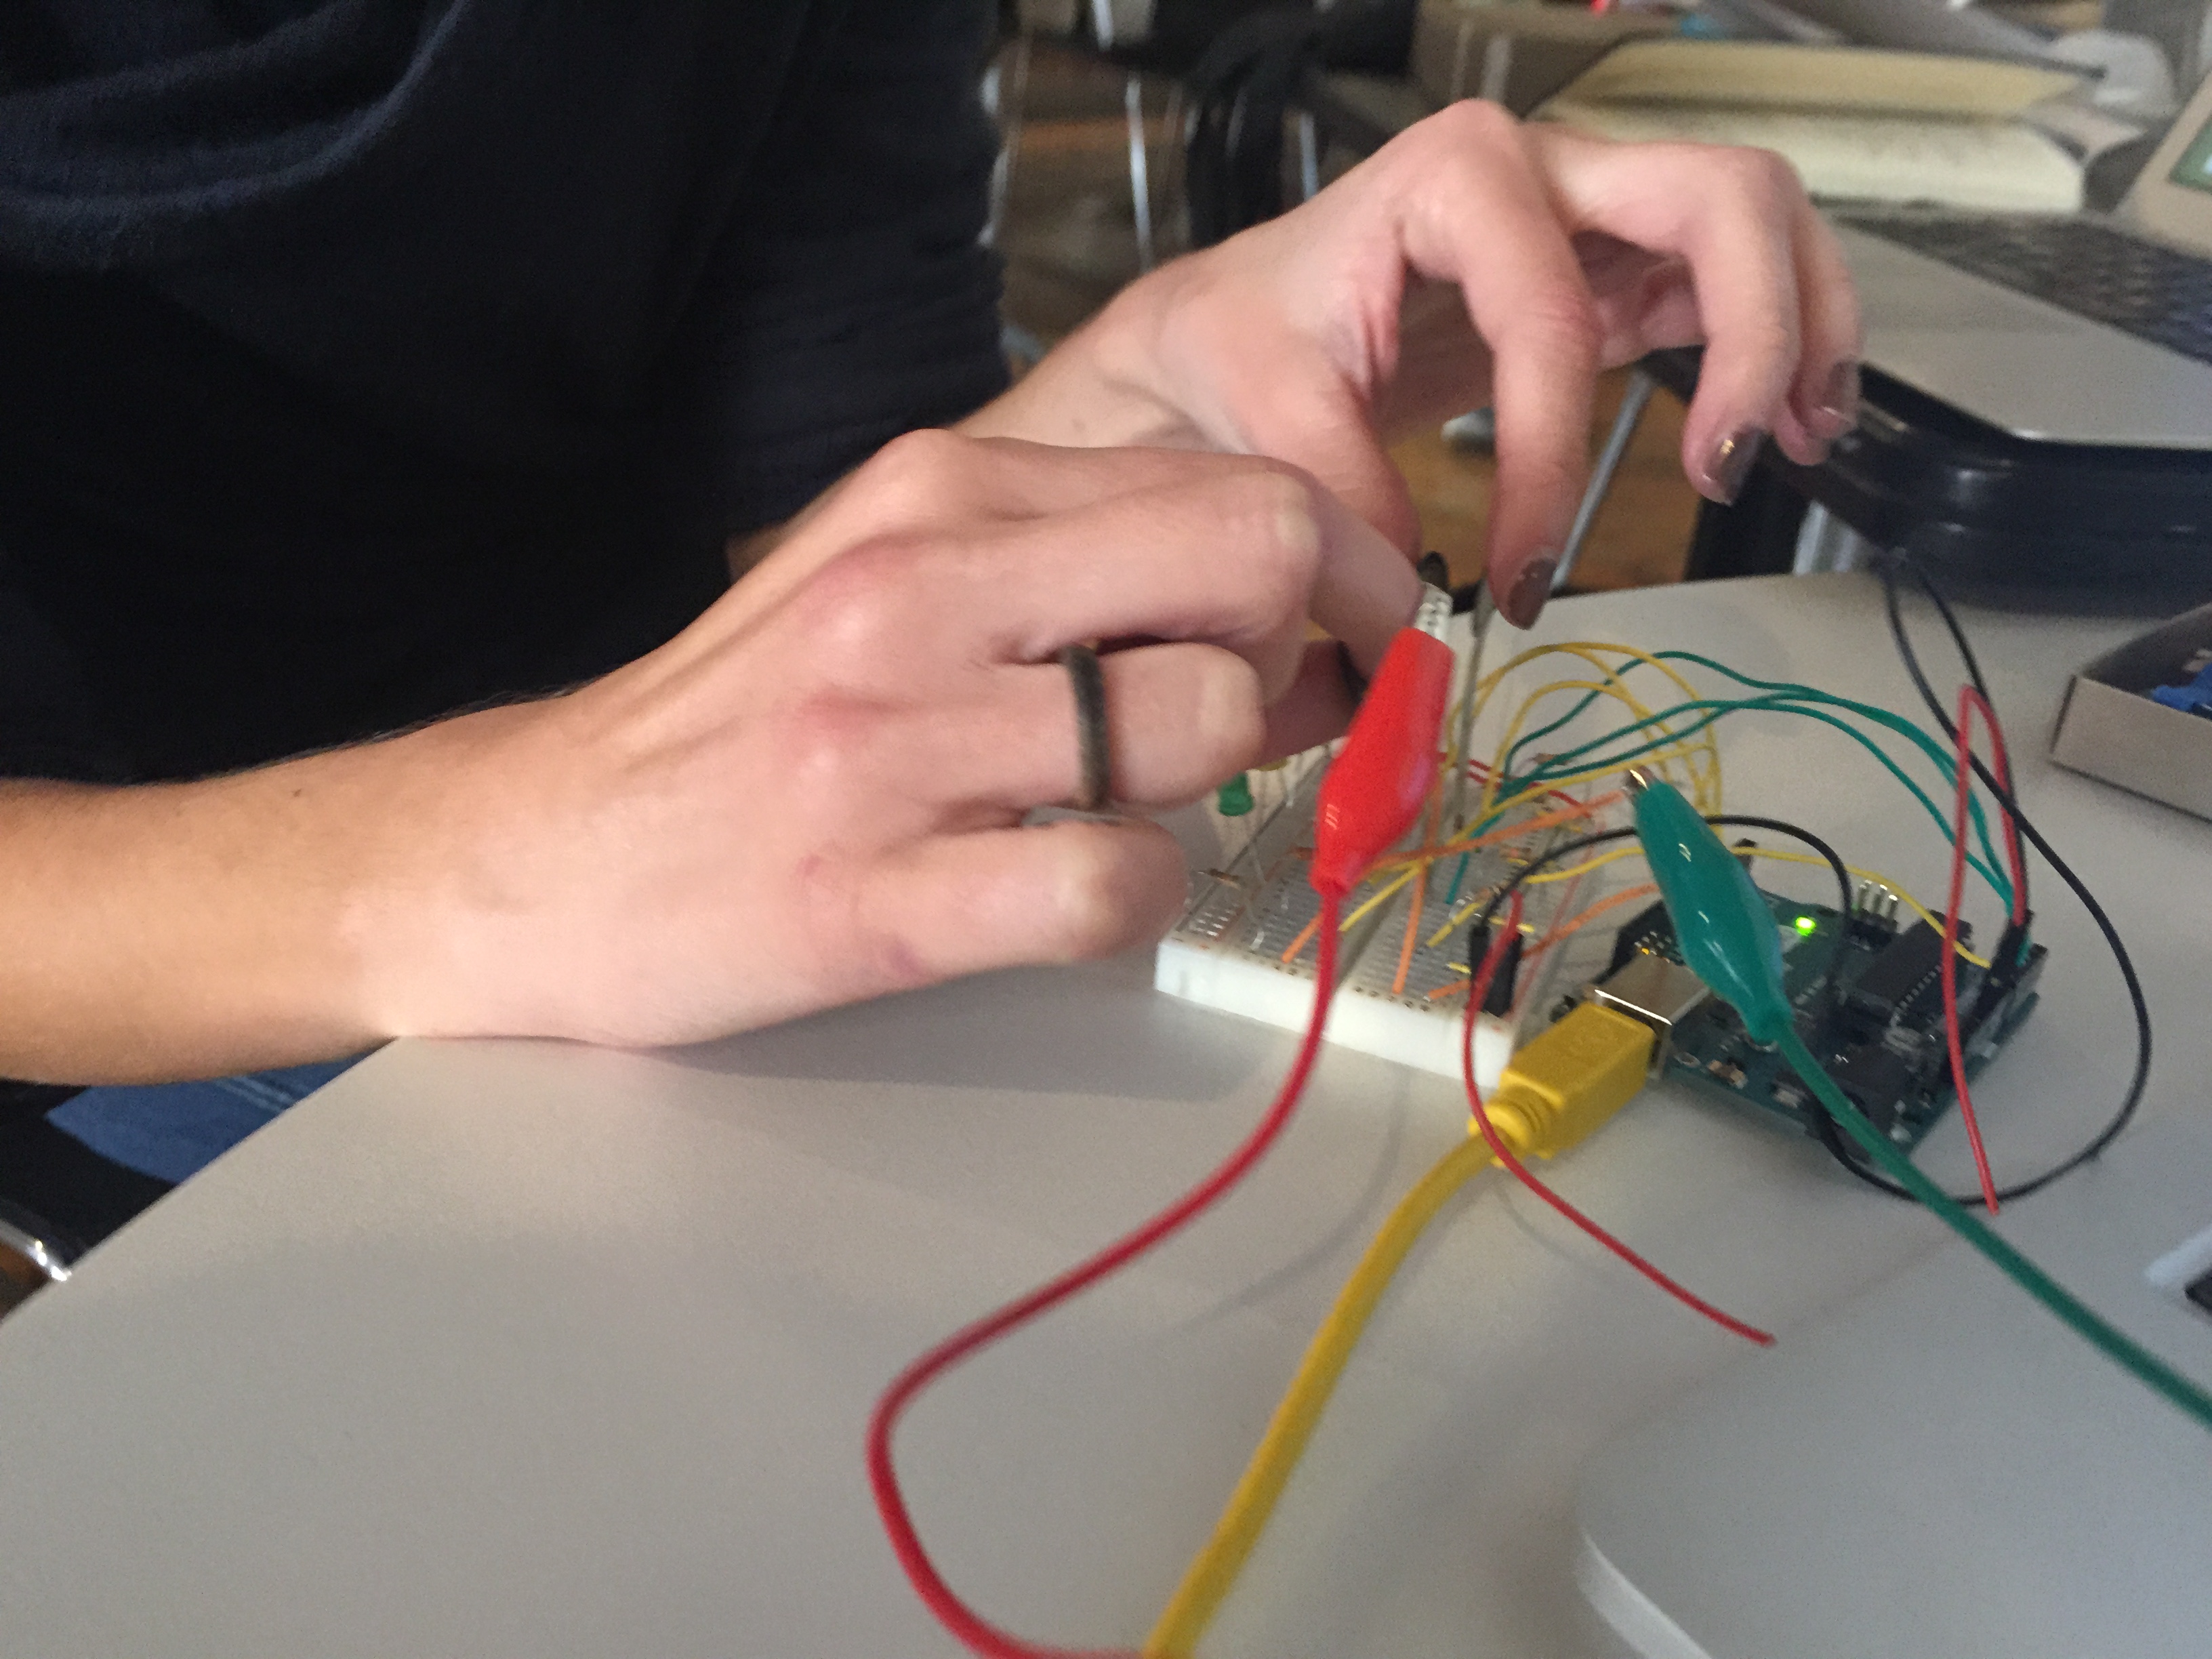
At this point we’d been simply playing tones from one of the small speakers hooked up to the breadboard. After some second-year assistance, we got a much larger speaker from the ER hooked up (glad I bought those alligator clips). Now we’re cookin’ with gas.

a plate did not work well
At this point we tried out a couple of different surfaces and a few different materials. The thicker the surface, the harder it was to get the frequency waves to penetrate and cause movement amongst the particles. Also, the smaller the particles, the more easily they would move and move together.
IMG_4580 from Zoe Bachman on Vimeo.
IMG_4584 from Zoe Bachman on Vimeo.
Then a friend showed us a video of a Chladni plate and we decided we would try and do something similar. Since we’d been successful at getting the particles to move in different ways based on the tones we played, we liked the idea of the added challenge of achieving these specific patterns.
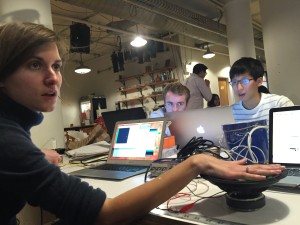
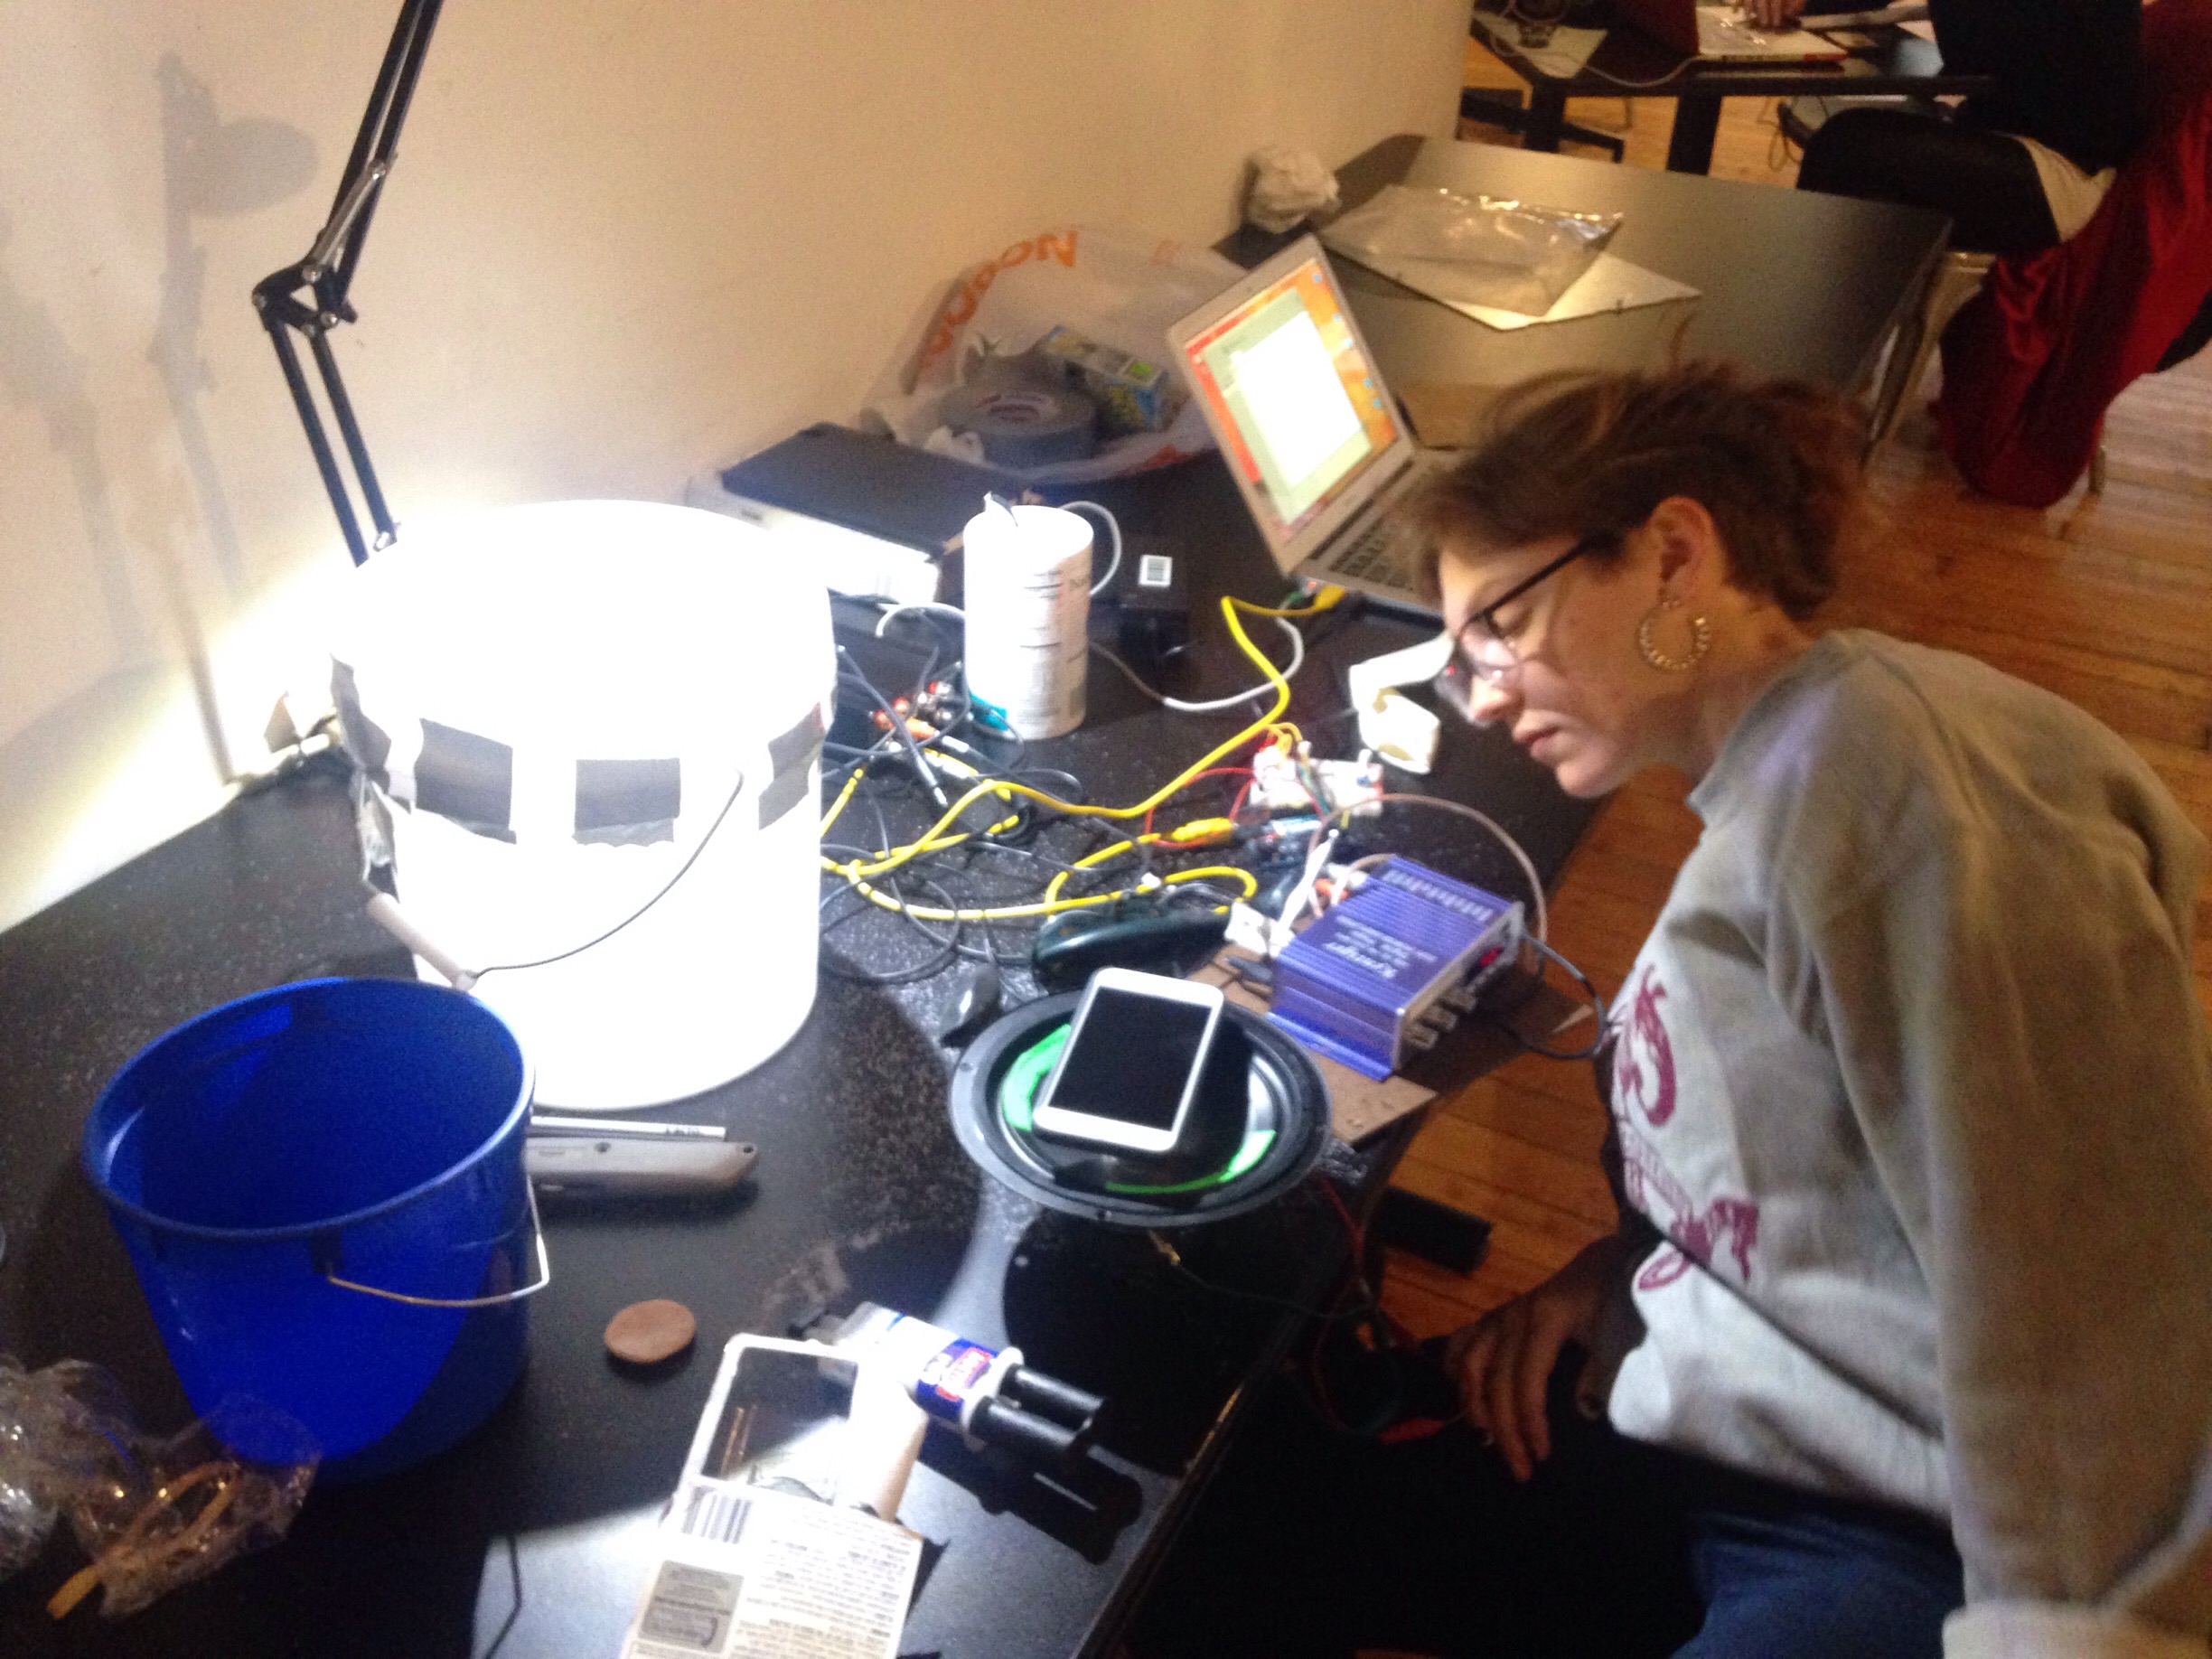
We met with TK, who answered several questions we had, such as what size speaker to use. We also learned more about the p5.js sound library and how we could use serial communication to output sounds rather than continuing to use the tone program on the arduino.
In our next iteration, we switched from FSRs playing specific tones to potentiometers that we mapped to amplitude (volume) and frequency. Next, we wired up a speaker a friend had found on the junk shelf but…it gave us a really weird signal. Part of the problem was that we didn’t know how to work the amplifier, because we realized when the amp wasn’t connected that we were getting our clear tones!
testing our speaker
So we nixed the amp for the moment and moved on to our latest set up, which consisted of a bucket with plastic wrap stretched across the surface. We tried two different size buckets, one with about a 5 inch diameter and the other with a 10″.
IMG_4588 from Zoe Bachman on Vimeo.
The 5″ was slightly too small for the speaker radius while the other was too large. Jed suggested that rather than affix the bucket directly to the speaker that we instead place a dowel in the vocal coil and drill a screw through the bottom of the bucket. This was great because we could experiment with the two different sized buckets .
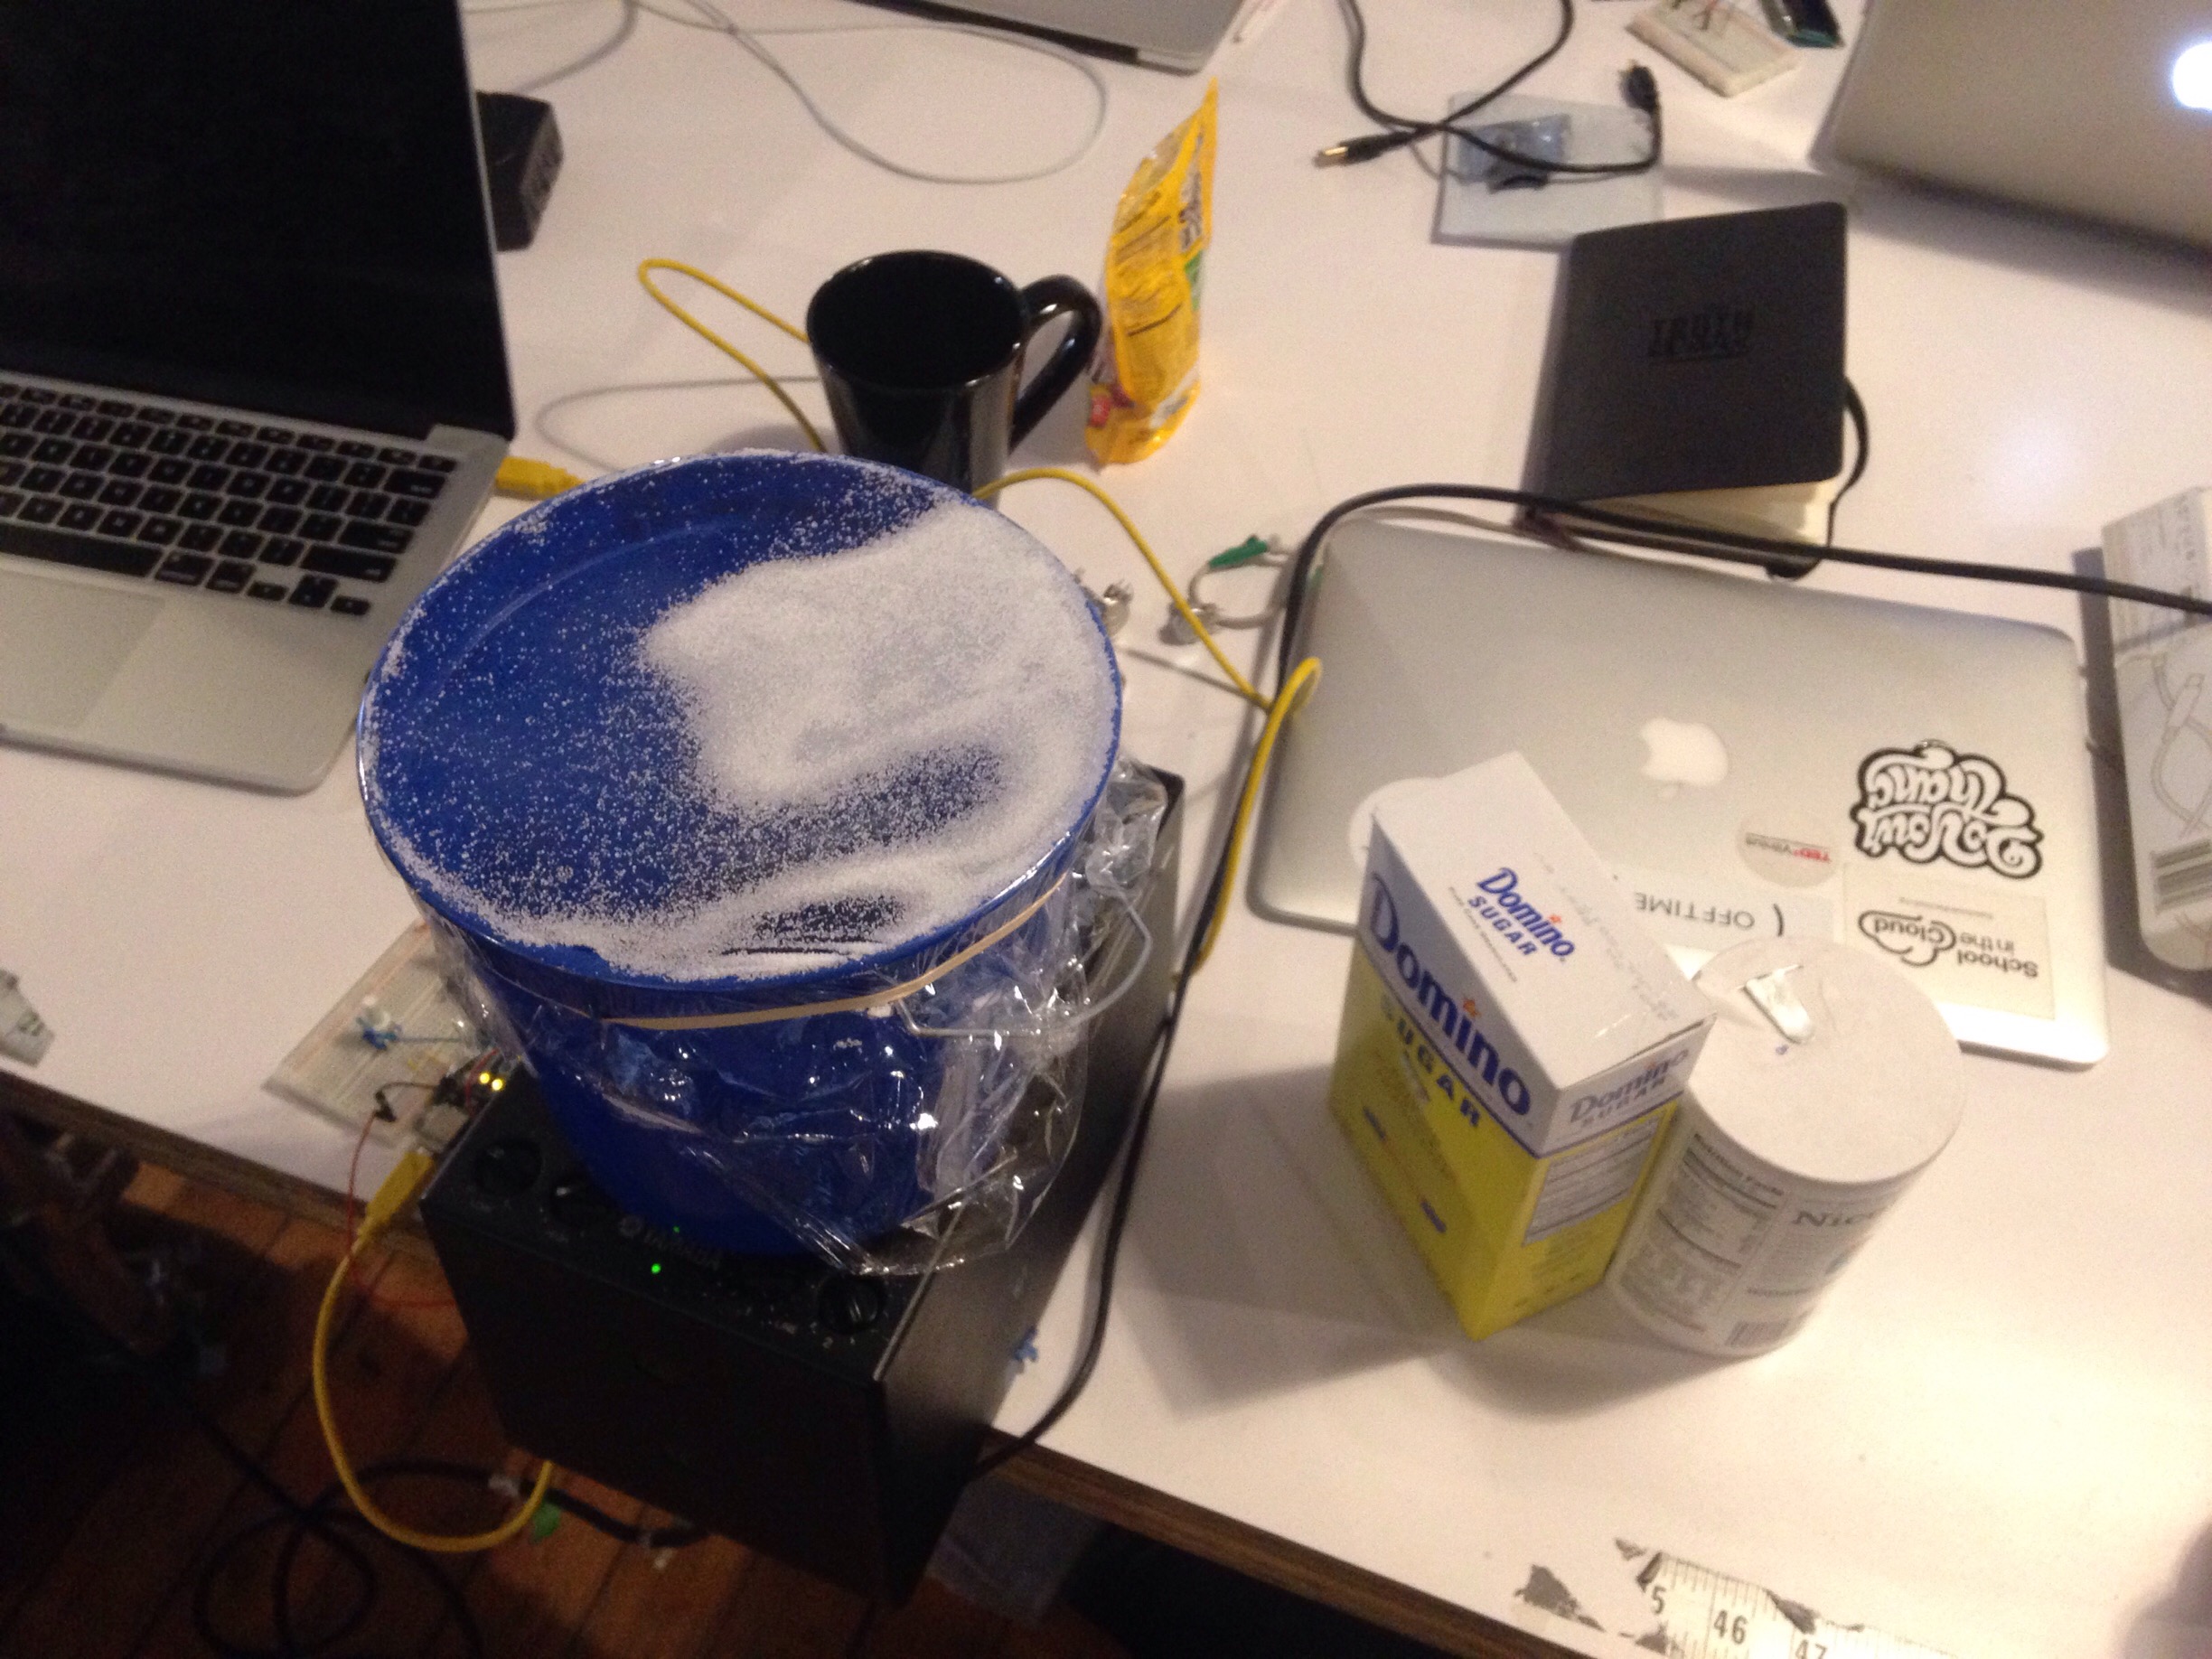
bucket with sugar and salt
checking for vibrations
We ran some mini experiments to figure out the best surface materials (plastic, latex) as well as different objects (salt, buckwheat, rice). While we were getting movement, we still weren’t seeing the patterns that we expected/wanted.
TK had mentioned acrylic/plexiglass as another possible surface option, so I picked some up while over on Canal Street. Good thing, because plexi ended up being the best possible surface! We tried out two different thicknesses, with the thicker one giving us the best result.

Eventually we were able to see at least six distinct patterns emerge as we altered the frequency and volume. Video forthcoming!

close up of one of the higher frequency patterns
IMG_4597 from Zoe Bachman on Vimeo.