Pcomp, Wk 4: Labs
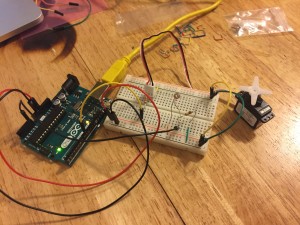
So I did the servo motor lab again and got it to turn! yay! What I took away from lab is our ability to use Arduino libraries, as well as a growing curiosity about controlling the position of an object. I was so intrigued by the servo motor’s capabilities that I decided to use them in my application (more on that in a different post).
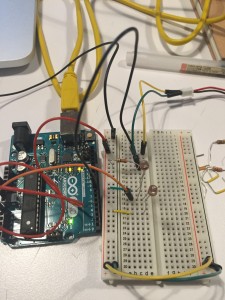
When I began my tone output lab, the first thing I was perplexed by was the readings I got from the two photosensors. I would have figured that if I covered both of them up, then that would give the lowest reading and that if I uncovered them they would give the highest. However, if they were uncovered I got a reading around 640. if I covered the one connected to power, I got readings around 230 and if I covered the one connected to ground I got readings around 900 – is it because they’re working as a sort of voltage divider?
The sensor readings (obviously) affected the output of the pitch, as well and the volume (or was it the pitch?) mirrored the readings. I checked with Paula’s to see if her’s did the same…and it is. So, in conclusion…I need to understand variable resistors more.
I also tried another photosensor and the same pattern emerged (although with slightly different ranges). So, basically, I just want to know if this supposed to happen this way and why?
Next, I moved on to the melody portion of the lab. This was a good lesson in correctly copying someone else’s code and checking through syntax for errors. Once I figured out my errors, it played the “shave and haircut” melody! Huzzah!
Then I did the last part of the lab with the FSRs. Cool to see that the code uses an array, since we just started to learn about those in ICM. Once I got them to output specific notes, I played around with the different notes assigned to the sensors and made up my own melody!
IMG_4479 from Zoe Bachman on Vimeo.


Pingback: PComp, Wk 4: Simple Application – Drawing Machine | itp blog